


Introduction
Internet Explorer 11 is the last version of Microsoft’s long-standing web browser, which was once the most popular browser in the world. Despite being succeeded by Microsoft Edge, some users and organizations still rely on Internet Explorer (IE) for legacy applications and compatibility reasons. However, installing IE11 on Windows 7 can sometimes be a challenge due to various technical issues. In this article, we will delve into the troubleshooting steps to resolve the common problems that prevent the installation of Internet Explorer 11 on Windows 7. Our goal is to provide a comprehensive guide that will help you navigate through these issues with ease.
Understanding the Prerequisites for IE11 Installation
Before diving into troubleshooting, it’s crucial to understand the prerequisites for installing IE11 on Windows 7. Ensure that your system meets the following requirements:
- Service Pack 1 (SP1) must be installed on Windows 7.
- Your computer should have a 1GHz processor or faster.
- At least 512MB of RAM is required.
- A minimum of 70MB of free disk space on 32-bit systems or 120MB on 64-bit systems.
- A graphics card capable of supporting DirectX 9 with a WDDM driver.
Step-by-Step Troubleshooting Guide
Step 1: Verify System Requirements
Before attempting to install IE11, confirm that your Windows 7 system meets the minimum hardware requirements mentioned above. Lack of compliance with these specifications can lead to installation failure.
Step 2: Update Windows 7
Ensure that your Windows 7 is up-to-date with all the latest updates and patches. This includes having Service Pack 1 installed, which is a critical prerequisite for IE11.
Step 3: Check for Conflicting Software
Sometimes, other software installed on your system can conflict with the IE11 installation process. Make sure to disable antivirus software and other security tools temporarily during the installation.
Step 4: Run the IE11 Installer as an Administrator
Right-click on the IE11 installation file and select ‘Run as administrator’. This gives the installer the necessary permissions to make changes to your system.
Step 5: Use the Windows Update Troubleshooter
Windows 7 has a built-in troubleshooter that can help resolve issues related to Windows Update, which is often used to install IE11. Run the troubleshooter and apply any recommended fixes.
Step 6: Reset Windows Update Components Manually
If the troubleshooter doesn’t solve the problem, you may need to reset the Windows Update components manually. This involves stopping the Windows Update service, clearing the update cache, and then restarting the service.
Step 7: Check for Required Updates
Certain updates are required before IE11 can be installed on Windows 7. Check for updates such as KB2533623, which must be installed prior to IE11.
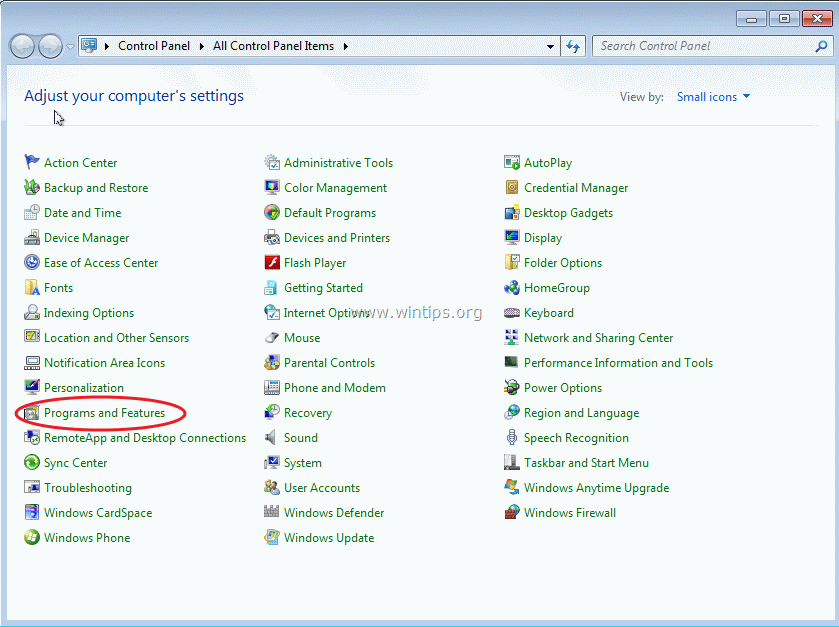
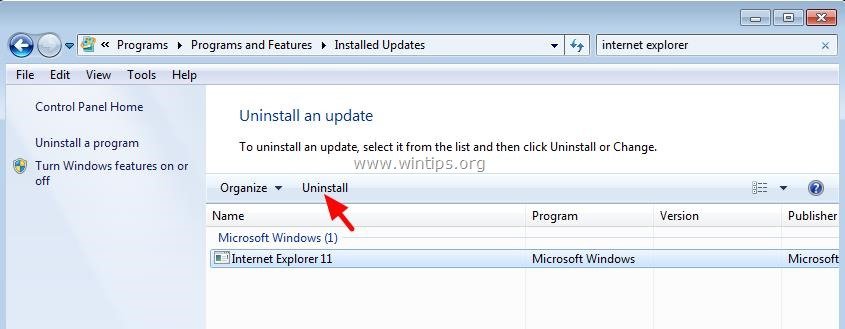
Step 8: Uninstall Previous Versions of IE
If you have an older version of Internet Explorer installed, it’s a good idea to uninstall it before attempting to install IE11. This can help prevent conflicts during the installation process.
Step 9: Use the System File Checker Tool
Corrupted or missing system files can prevent the installation of IE11. Use the System File Checker (SFC) tool to repair any corrupted system files.
Step 10: Perform a Clean Boot
Performing a clean boot can help identify if third-party applications are causing conflicts. With a minimal set of drivers and startup programs, you can attempt to install IE11 without interference.
Step 11: Install IE11 in Windows Safe Mode
If all else fails, try installing IE11 in Windows Safe Mode. This mode will start Windows with a minimal set of drivers and services, which can help bypass conflicts that prevent the installation.
Common Installation Errors and Solutions
Here are some common errors encountered during the installation of IE11 on Windows 7, along with their solutions:
- Error Code 9C59: This error can often be resolved by ensuring that all required updates are installed before attempting to install IE11.
- Error Code 9C47: This may indicate a conflict with an antivirus program. Try disabling your antivirus temporarily and then install IE11.
- Error Code 9C48: This suggests that IE11 is already installed. Check your installed updates to confirm.
FAQ Section
Why is it important to install Service Pack 1 before installing IE11 on Windows 7?
Service Pack 1 contains important updates and bug fixes that are essential for the proper functioning of IE11. Without SP1, you may encounter compatibility issues and installation failures.
Can I install IE11 on Windows 7 without an internet connection?
Yes, you can install IE11 on Windows 7 without an internet connection by downloading the IE11 offline installer from another computer and transferring it to your Windows 7 machine.
What should I do if I encounter an unknown error during the installation?
If you encounter an unknown error, note down the error code or message and search for it online. Microsoft’s support website or community forums may have specific solutions for your error.
Conclusion
Installing Internet Explorer 11 on Windows 7 can be a smooth process if all prerequisites and system requirements are met. However, if you encounter issues, following the troubleshooting steps outlined in this article should help you resolve them. Remember to check for system compatibility, update your Windows 7, and ensure that no conflicting software is running during the installation. With patience and careful attention to detail, you can successfully install IE11 and continue using it for your specific needs.
References
For further reading and additional resources, please refer to the following:
- Microsoft’s official Internet Explorer 11 download page: IE11 Download
- Windows 7 Service Pack 1 (SP1) information: Windows 7 SP1 Support
- Microsoft’s guide on using the System File Checker tool: System File Checker Guide


